How to deploy your al-folio themed website to GitHub page for the first time?
al-folio is a simple, clean, and responsive Jekyll theme for academics. It was developed and maintained by Maruan Al-Shedivat. Starting version v0.3.5, al-folio will automatically re-deploy webpage each time new changes are pushed to the repository. While this feature worked awesomely well in general, we did notice some small issues during our initial deployment of the CLAMS website. As we tried to figure out ways to resolve these issues, we noticed that we were not alone – many people had similar doubts/problems during the deployment of their websites, especially for those who do not have extensive background or experience in computer science, just like us. After we finally understood what was actually going on, we realized that most of the issues were due to the lack of step-by-step documentation for new users. This blog post highlights the key steps needed to successfully deploy your website powered by Jekyll with al-folio theme to GitHub for the first time. Therefore, this post mainly serves to fill the gap in documentation/instructions for new users.
Things that may go wrong during your first deployment
After making changes to our code, you would follow the standard bundle, jekyll build, and jekyll serve commands (or simply bundle exec jekyll serve) in your terminal to build the site and make it available on a local server. However, if you are using you are using Ruby version 3.0.0 or higher, this step may fail because Ruby 3.0.0 no longer comes with webrick. Therefore, you need to add webrick to your dependencies: bundle add webrick before proceeding to the next steps.
Now, everything looks great on our local host http://localhost:4000. Since you are aware of the automatic deployment feature added to versions v0.3.5 and newer, you think you just need to push the changes to GitHub (most probably to the master branch), and GitHub should just automatically deploy your website. After all, everything works well locally, what else can happen? OOps! Most likely you will receive an error message like this:

In fact, you are not the only one who had this issue (see here, here, and here for issues related to ‘bibliography’, and here for an issue related to ‘cite’). Most fix suggestions deal with making sure that 1) , group: :jekyll_plugins is added next to the gem "jekyll-scholar" line in the Gemfile, and 2) plugins_dir: [jekyll-scholar] is included in the _config.yml file. However, for al-folio, these suggestions are not that helpful because these lines are already there. So what has exactly happened?
As you probably notice already, these issues all point toward jekyll-scholar, which handles ‘bibliography’, ‘cite’, etc. As pointed out by jekyll-scholar developer, for security reasons, GitHub Pages does not allow running arbitrary Ruby code in its build process. This means that it is not possible to use third-party Jekyll plugins at will, and only a restricted handful of selected Ruby gems can be loaded. Unfortunately, Jekyll-scholar is not among those, so it is not possible to use it and at the same time rely on the automated GitHub Pages build system (see a similar discussion here).
The solution to this issue is to type the script .bin/deploy in terminal for deployment, which is THE key step of the entire deployment process. In this step, you will be asked for your GitHub username and password. However, if you directly type your GitHub password, you will encounter the following error message:
remote: Support for password authentication was removed on August 13, 2021. Please use a personal access token instead.
fatal: Authentication failed for 'https://github.com/your-github-username/your-website-name.github.io.git/'
As the message suggested, starting August 13, 2021, GitHub no longer accepts account passwords when authenticating Git operations on GitHub.com. Instead, token-based authentication (e.g., personal access, OAuth, SSH Key, or GitHub App installation token) will be required for all authenticated Git operations. To set up your personal token, you need to follow the instructions here.
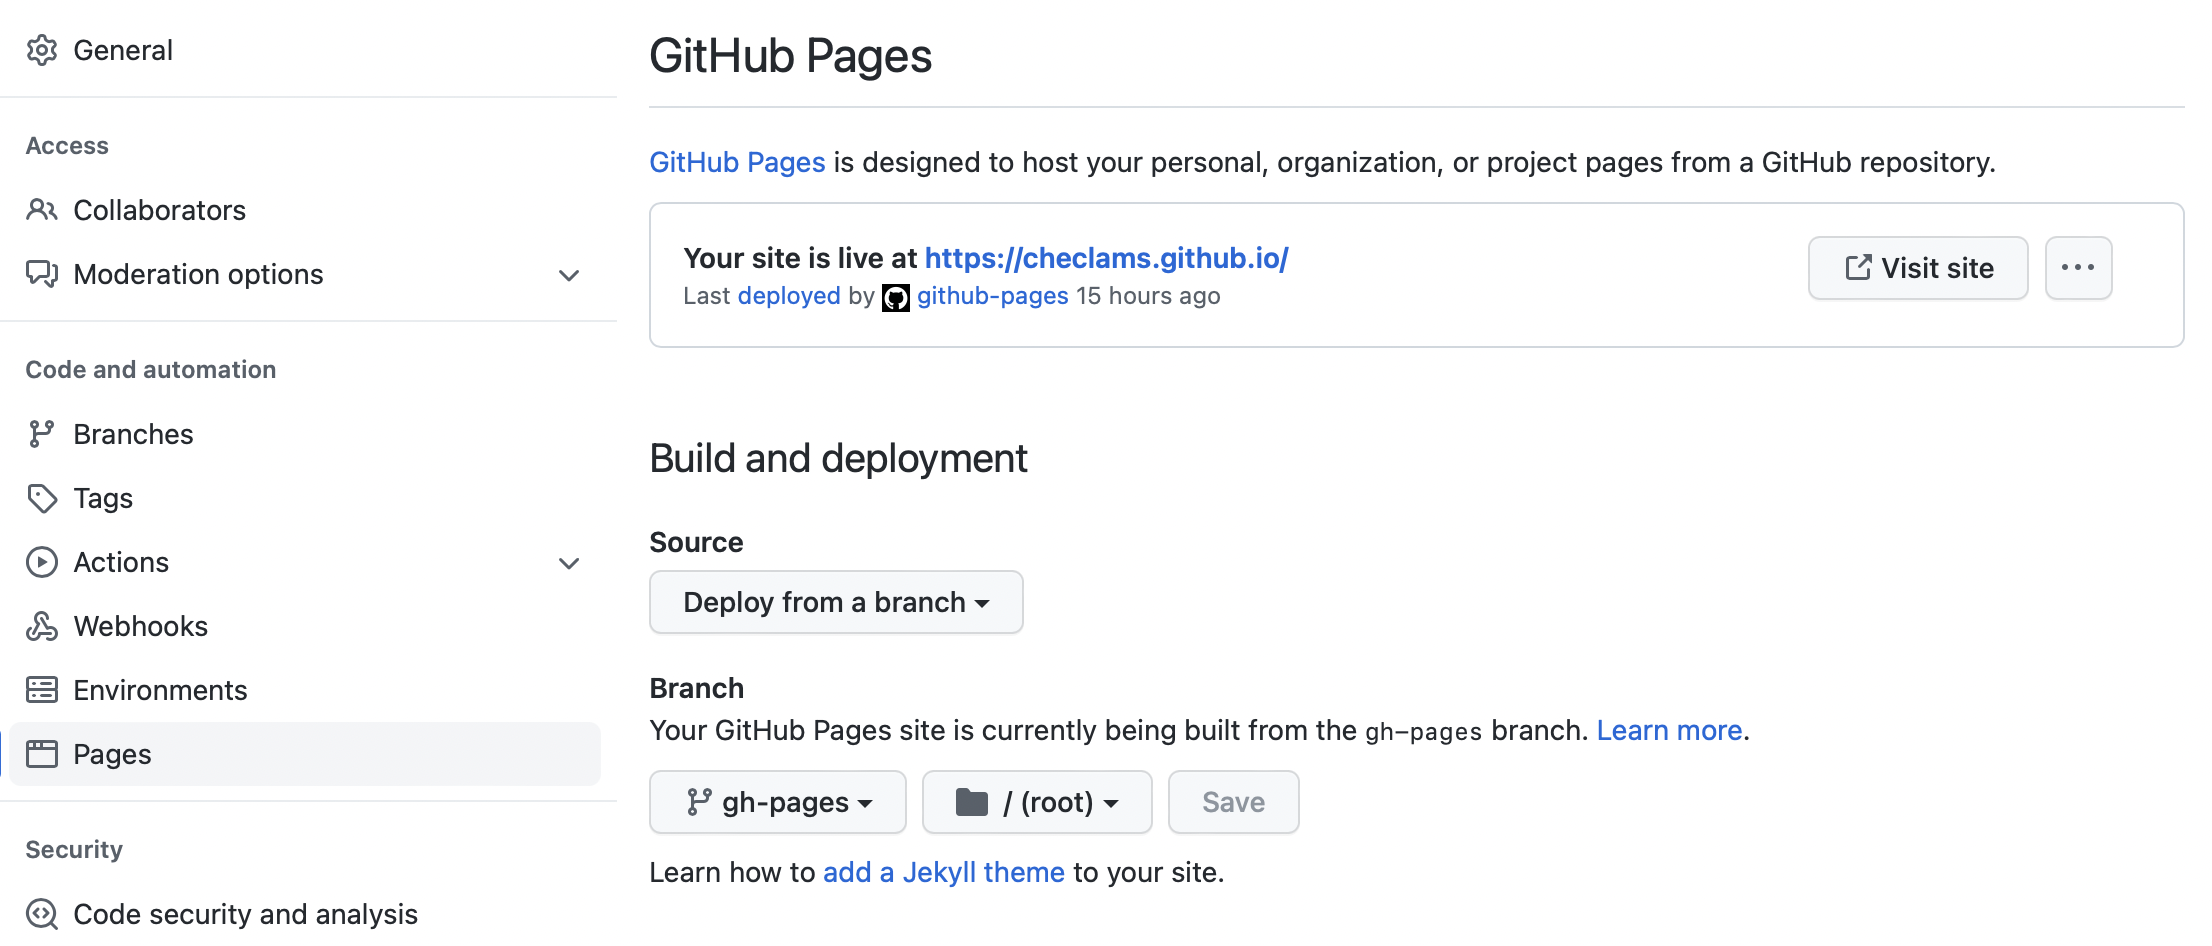
Now you are almost done. You can type .bin/deploy in terminal and press enter/return. Hopefully, you will receive a “successful deployment” message. Now you try to load your-website-name.github.io in your favorite browser, but all you can see is a 404 error message that says “there isn’t a GitHub Pages site here”. For new users, this can be very confusing. After all, the page has been successfully deployed. The reason why you see an error is because you are currently in the master branch. For deployment, you must set the branch to gh-pages branch in the Pages section under the Settings of your repository. The details on how to configure a publishing source of your GitHub Pages site are discussed here. Now everything should work!

Summary
In summary, to successfully deploy your website for the first time, you would need to do it by yourself by first creating your personal authentication token, typing .bin/deploy, and changing your branch to gh-pages instead of master. Fortunately, for later deployments, the automatic deployment feature will take effect and works great, and GitHub will automatically deploy your webiste whenever you push changes to GitHub. In addition, a list of common Jekyll build errors for GitHub Pages sites and their troubleshooting procedures have been summarized in here.
Enjoy Reading This Article?
Here are some more articles you might like to read next: